Garrattfan's Modelrailroading Pages
Fairlie Merddin Emrys
6.2 Aprons and tanks assembly
Having completed the separate aprons and tanks it is now time for the big assembly step |
|
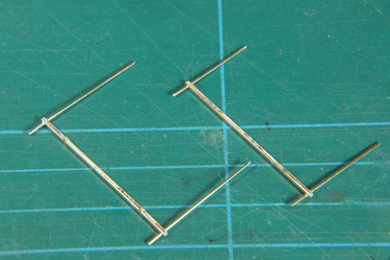 |
First the top tank stays are made [98], for now only in rough form. The function counts. I will file them later to a more agreeable model form. |
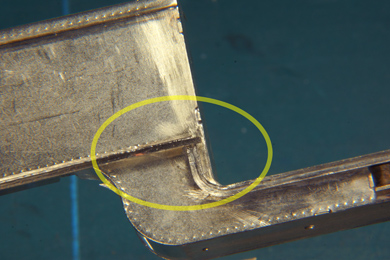 |
The apron ends are filed to match the valances [95-96]. |
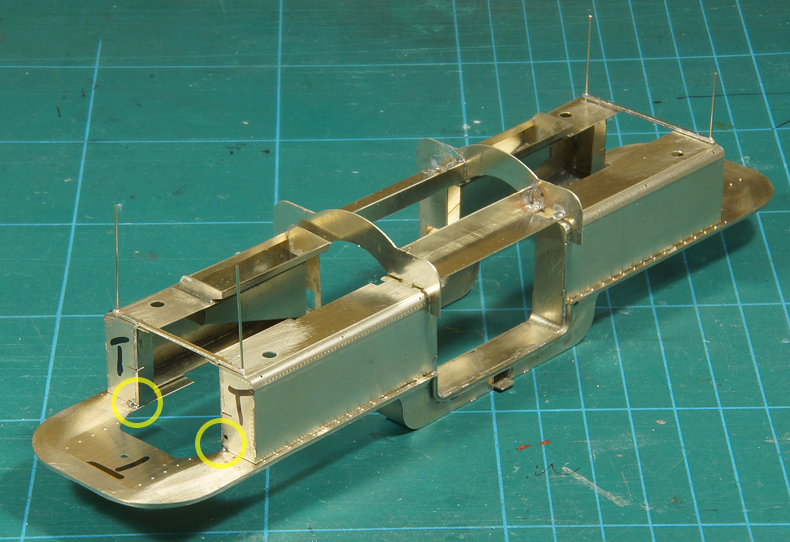
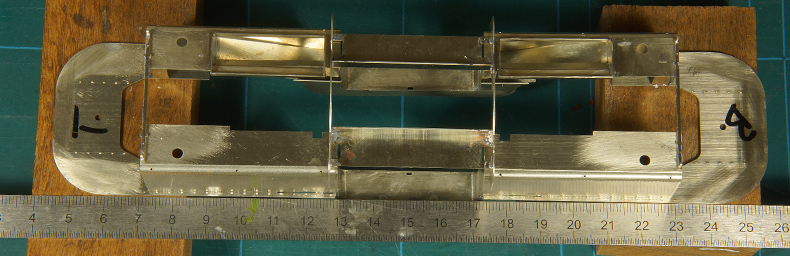
Then everything is assembled, taken apart again, corrected etc. until happy [97]. Note that the tanks and apron are marked for the top side of the locomotive, and, not visible here, for the bottom side [96]. This is to prevent accidental swapping of the aprons. You are making a custom fit and if you swap them you may find to be a non-fit again. If you are lucky you may think of the possibility of having swapped them, but Murphy's Law says you will only think of that after happily have started filing your way to a better fit. Chances are that neither apron will then be able to achieve any good enough fit. The tank stays are greatly helpful in guiding the fitting and assembly [99]. When happy with the fit the aprons and tanks are tack soldered [100]. You can see two of the tacks on the front ends of the tanks. Two more are on the underside about where the S-curve of the centre bottom starts. So there are four tacks at each end, eight in total. The spots for tacking are chosen carefully to make corrections or even disassembly possible without too much restoration work.
Some criteria for choosing tack spots
|
|
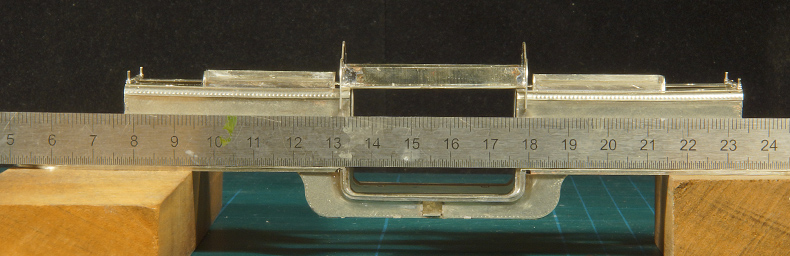
Once the assembly is tacked a bout of careful measuring follows [101].
Vertical alignment of the apron. Check! Everything well within a few tenths of a millimetre. |
|
Horizontal alignment of the aprons. Check. |
|
Vertical alignment of the tanks. Check, despite a tiny bit of sagging in the middle of each tank. |
|
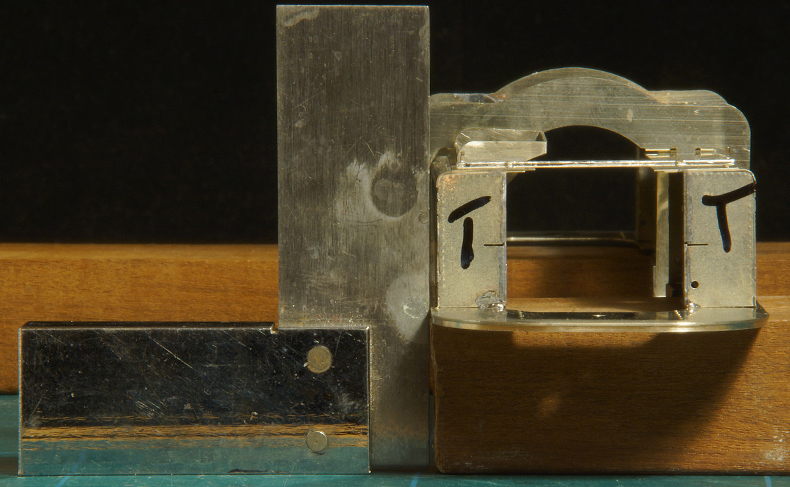
Tank vertical? Check! |
|
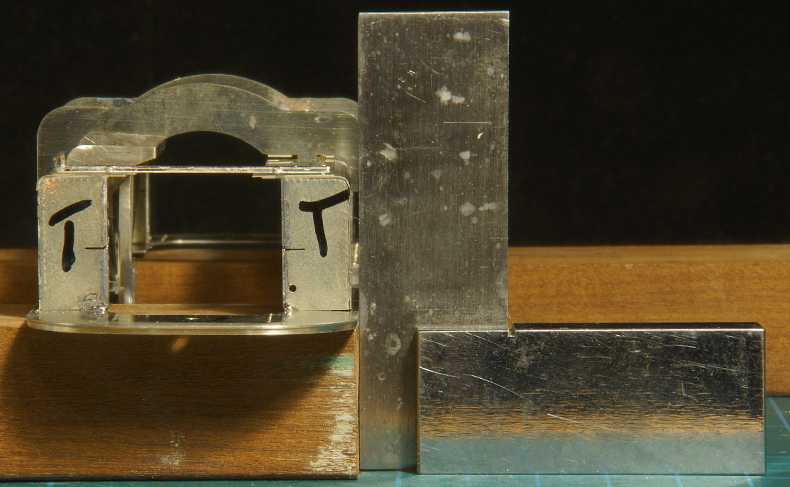
Other side vertical? Check! |
|
| I measured various other angles and dimensions and found them sufficiently within the limits. | |
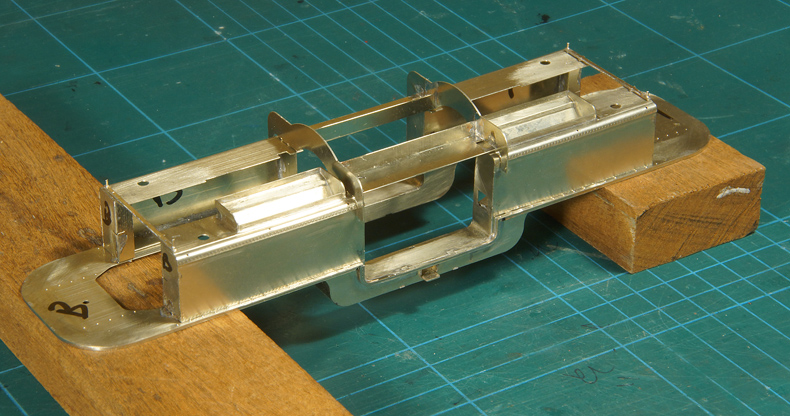
One more and very cruel test: does the body wobble on two equal pieces of hard wood I have especially for that purpose? It initially did a bit but after resoldering one tack it sat dead flat. Then finally the tacked seams of the tanks were soldered up piece by piece and cleaned [105]. |
|


Sign my
GuestBook